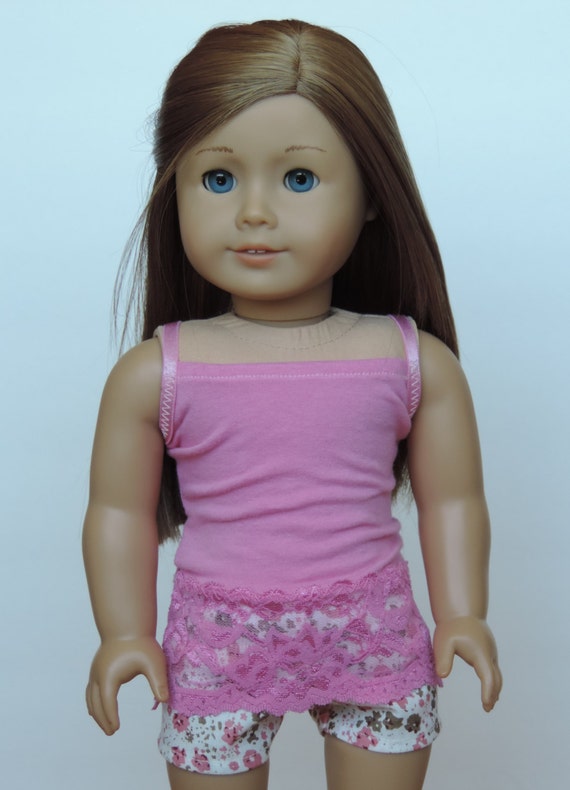
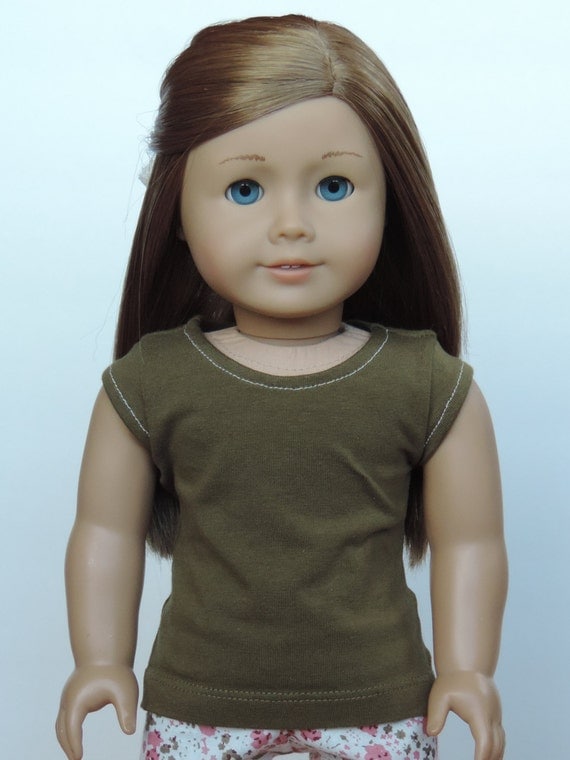
Hair bows are the perfect accessory for a doll, and I love to put them in my curly haired Rebecca's hair. I decided to make some, and based my doll sized version on
this tutorial from Kelly Hicks Design. I am going to show you how I followed her tutorial, and the changes I made to make it suitable for doll hair!
If you want to make one too, you will need:
Fabric scraps (for strips 5 1/4" x 3 3/4" and 1" x 2")
Hair clip or bobby pin (I got out 1" alligator clips and mini bobby pins, but decided not to use the clips)
Hot Glue Gun
Scissors
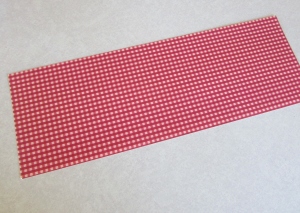
Cut a rectangle of fabric that is about 3 3/4" by 5 1/4". It doesn't need to be exactly this size, you may want a bigger or smaller bow than the ones I made.
Fold in thirds.
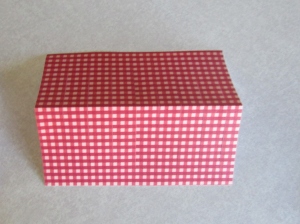
Fold the edges in so they meet in the middle. This is the backside of the bow. Sometimes, depending on the fabric, I found it easier to glue these pieces down with a little bit of glue. Gluing the back it does make it slightly more bulky, however.
Turn over and pinch. Hot glue so the pinch stays. Yay now you have the shape of the bow!
Take another piece of fabric, about 1" by 2". The fabric in the picture below is 3" because I took the pic before I found it was too long and trimmed it :) You may also need to trim it even if you cut it an original 2". Also, I used contrasting fabric.
I folded it like you would bias tape, so there would be now raw edges. Glue the back so the strip stays.
Time to attach the pin or clip!
For this bow, I slipped the bobby pin under the strip. I found this stayed better than gluing it to the back.
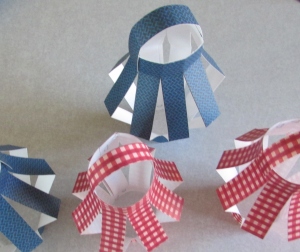
Here are all the bows I made, and how they look on my doll. I used different types of fabric for each.
This light pink bow is made from very lightweight burnout knit fabric. I think this is my favorite one!
The red, white and blue bow is made of cotton.
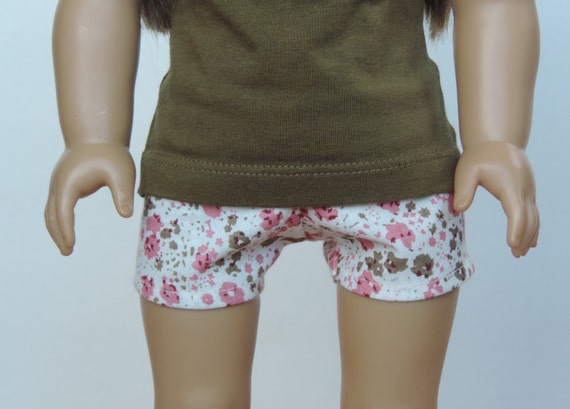
The floral bow is of heavier weight knit fabric.
And this little polka dot bow is flannel.
Lastly, my second favorite bow I made is made from cream colored lace.
Which bow did you like the best?


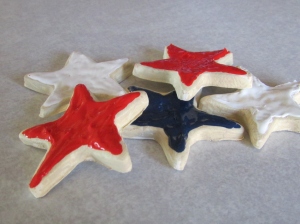
 First, I rolled out my white polymer clay. I used a small star shaped cookie cutter to cut out stars.
 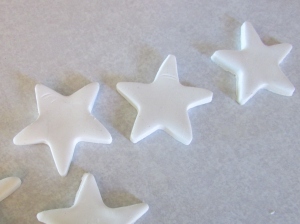 I put them on a baking sheet and put them in the oven. They took about 20 to 25 minutes to bake.
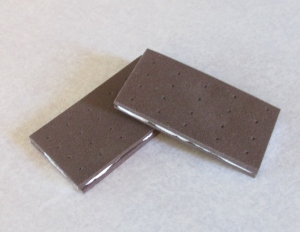 To make these ice cream sandwiches, I used these two tutorials:


 I bent and shaped the paper so it looked right.